Choosing a suitable paint sprayer can be a difficult task. With so many options available, knowing which one is best for your project can take a lot of work. The good news is that we’ve compiled this guide to help you make an informed decision and find the perfect tool for your job. We’ll cover everything from types of paint sprayers and their benefits to tips for success. So read on and prepare to take your painting projects to the next level!
Understanding Paint Sprayers
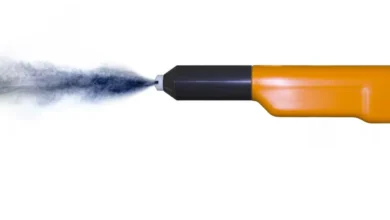
Before choosing suitable Titan sprayer parts for your project, it’s important to understand how they work. Paint sprayers use compressed air to create a fine mist of paint that is then sprayed onto the surface. It gives a much smoother and more even finish than traditional brush painting methods and is much faster and easier.
There are two main types of paint sprayers: airless and HVLP. Airless sprayers are best for larger projects. They use high pressure to atomize the paint and provide a thicker coverage. But HVLP (high volume, low pressure) sprayers are better suited for smaller projects requiring more precision and detailed work.
Selecting the Right Paint for Your Project
Here is the detail about selecting the right paint for your project.
Choosing the Proper Paint
The type of paint you choose can make a big difference in the quality of your finished project. Oil-based paints are generally better for larger surfaces. While latex or water-based paints are best for smaller projects. It’s also important to consider whether you’ll need a primer before painting, and if so, make sure to buy the appropriate type for your project.
Selecting the Right Finish
The finish of a paint job is as important as the quality of the paint itself, and there are several different types to choose for your titan sprayer parts. From satin and semi-gloss to flat and high gloss finishes, each one has its own unique set of advantages and disadvantages. Consider the look you’re trying to achieve and any practical concerns, such as how the paint will clean up, before deciding on a particular finish.
Tips for Success
Here are some tips for a successful paint sprayer.
Prep Work is Key
No matter which type of sprayer you choose, it’s essential to do some pre-painting prep work. Ensure the surface is clean and free of dust or debris, and use a good-quality primer for your Titan sprayer parts if necessary. Taking the time to do this step will ensure that your paint job turns out looking its best.
Safety First
Be sure to take safety precautions when working with any paint sprayer. Wear protective clothing, goggles, and a face mask to protect yourself from exposure to paint fumes. Always use the sprayer in a well-ventilated area to ensure proper air circulation.
Practice Makes Perfect
Finally, remember that practice makes perfect. If it’s your first time working with a paint sprayer, take some time to get comfortable using it before tackling your project. Spray a few practice pieces of wood or cardboard to get an idea of how it works and how far away you should hold it for the best results.
Setting Up and Operating the Paint Sprayer
Setting Up the Sprayer
Before you start, setting up your paint sprayer properly is important. Begin by attaching the air hose and any other components that may be necessary, then fill the container with the appropriate amount of paint according to the instructions. Make sure all the connections are secure before proceeding.
Preparing the Surface
Once your Titan sprayer parts is ready, it’s time to prepare the surface you will be spraying. Start by taping off any areas that need to remain unpainted (such as trim or windows), then use a vacuum cleaner or rag to remove dust and debris. Once the area is clean, ensure all the connections are properly secured, and you’re ready to begin.
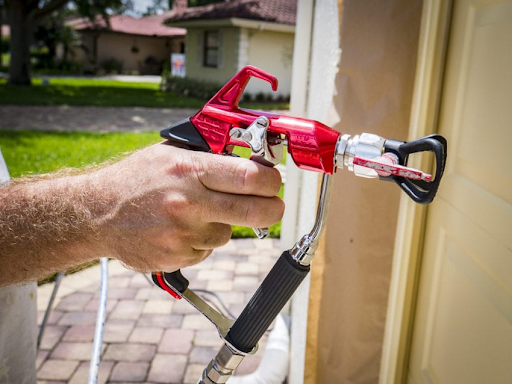
Spraying the Paint
Now you’re finally ready to start spraying! Begin by holding the sprayer at least 8-12 inches from the surface, then move it in a steady, back-and-forth motion while overlapping each stroke. Ensure not to press too hard on the trigger; a light grip should do the trick. When you’re done, let the paint dry for at least 24 hours before adding another coat or putting any objects back on the surface.
Conclusion
A suitable paint sprayer can make all the difference in achieving a quality finish on your projects. With this guide, you now know to make an informed decision and find the perfect tool for the job. Remember to take safety precautions, practice using it beforehand, and do some prep work before spraying. With a bit of know-how, your next painting project will be a success!